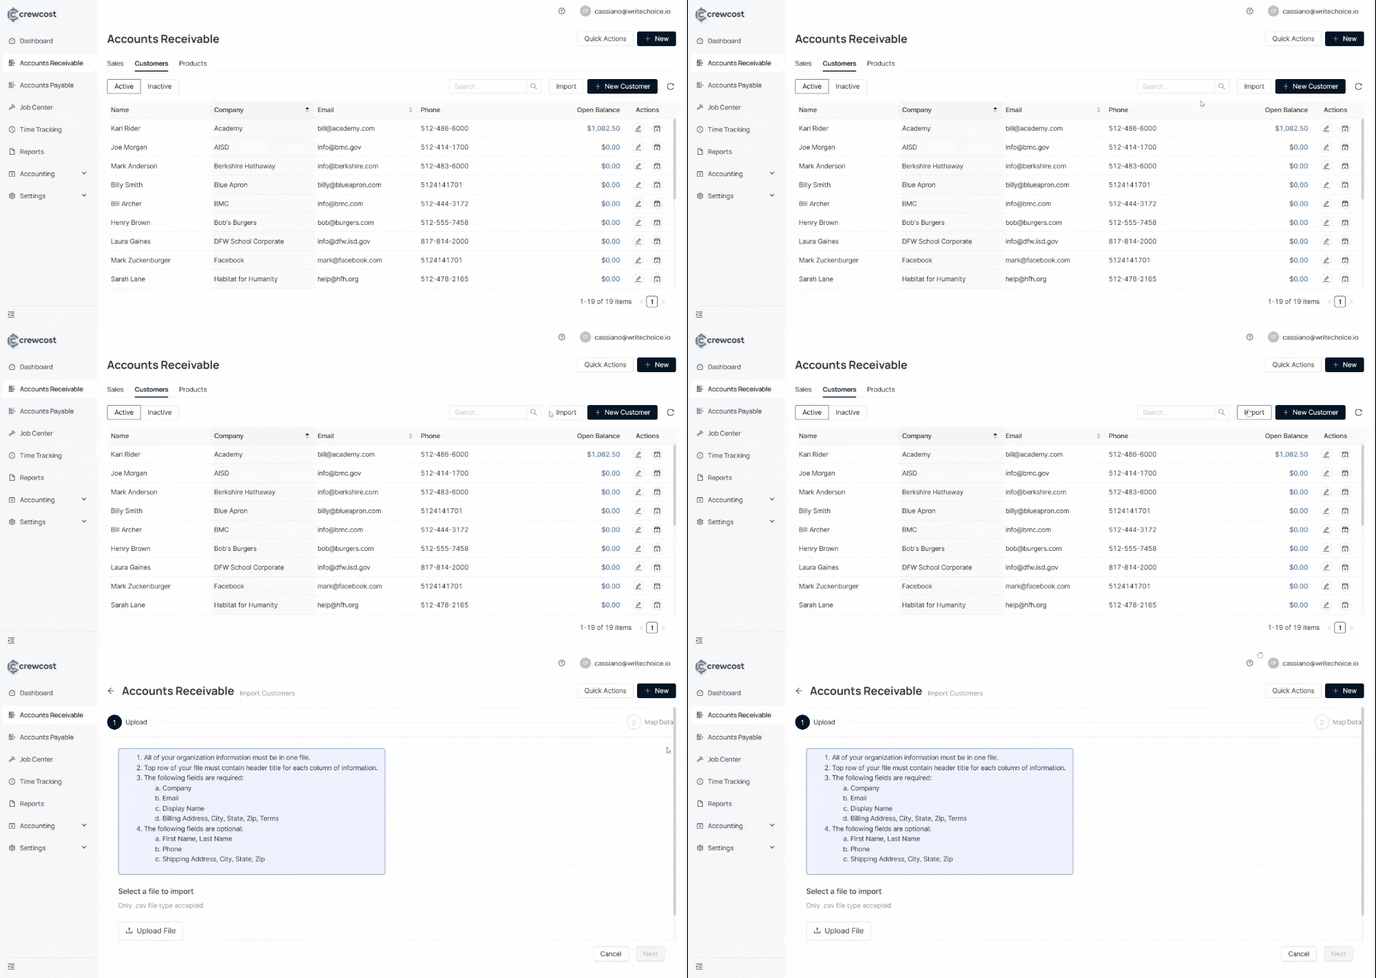
Learn how to set up customer profiles.
Whether adding a single client or importing a large list of customers, these steps will help you set everything up quickly. Additionally, you can create a customer ad hoc or within the context of any relevant menu, like vendors, jobs, and accounts. This flexibility applies across the platform, allowing you to manage related information easily.
Instructions
To add a new customer:
- Go to the Accounts Receivable section in the left menu.
- Click on New Customer.

-
- First Name
-
- Last Name
-
- Company
-
- Display Name
-
- Phone
-
- Address
-
- City
-
- State
-
- Zip Code
-
- Billing Terms
-
-
- Immediate
Payment is due as soon as the invoice is received. - Net 15
Payment is due 15 days after the invoice date - Net 30
Payment is due 30 days after the invoice date. - Net 60
Payment is due 60 days after the invoice date.
- Immediate
-
4. In Shipping, check Same as Billing Address (optional).
5. You can add new locations in New Location (optional).
-
- Address
-
- City
-
- State
-
- Zip Code
Import customer data
To import customer data:
1. Click on Import.
2. Download the template file.
3. Fill in the template with customer details.
Required fields:
-
- Company
- Display Name
- Address
- Billing Terms
- City
- State
- Zip
- Terms
Optional fields:
-
- First Name, Last Name
- Phone
- Shipping Address, City, State, Zip
Select a file to import
-
- Only .csv file type is accepted.
- Download a sample file for reference.
5. Select Next. Then, see if the information matches.

Info:
Optional fields can be left blank when mapping.
What's next?
Keep exploring our platform by taking the next step: Add products page.
